


")
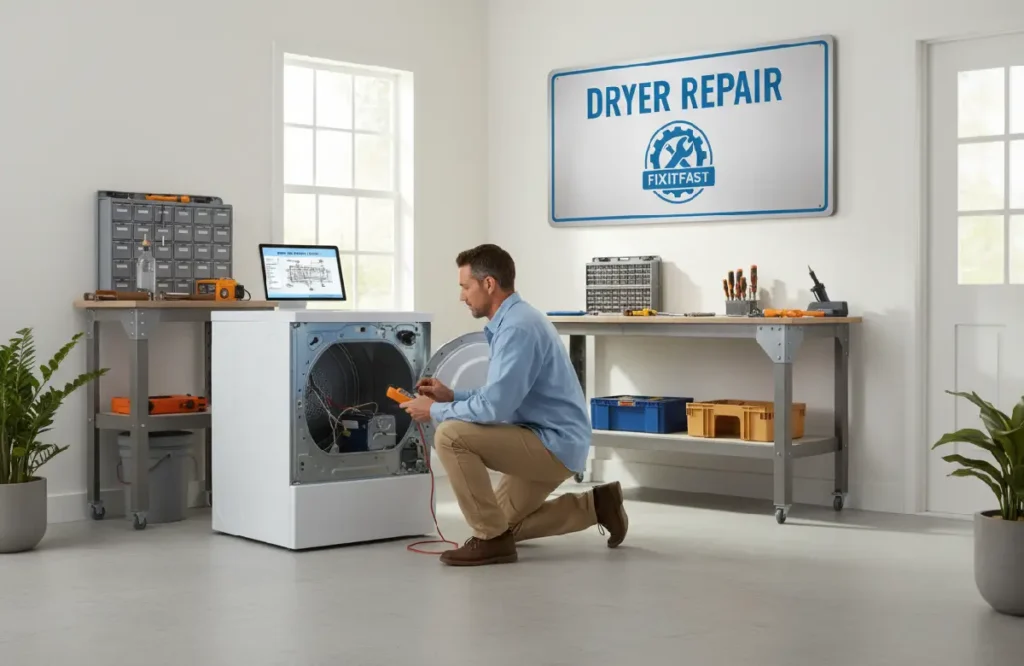
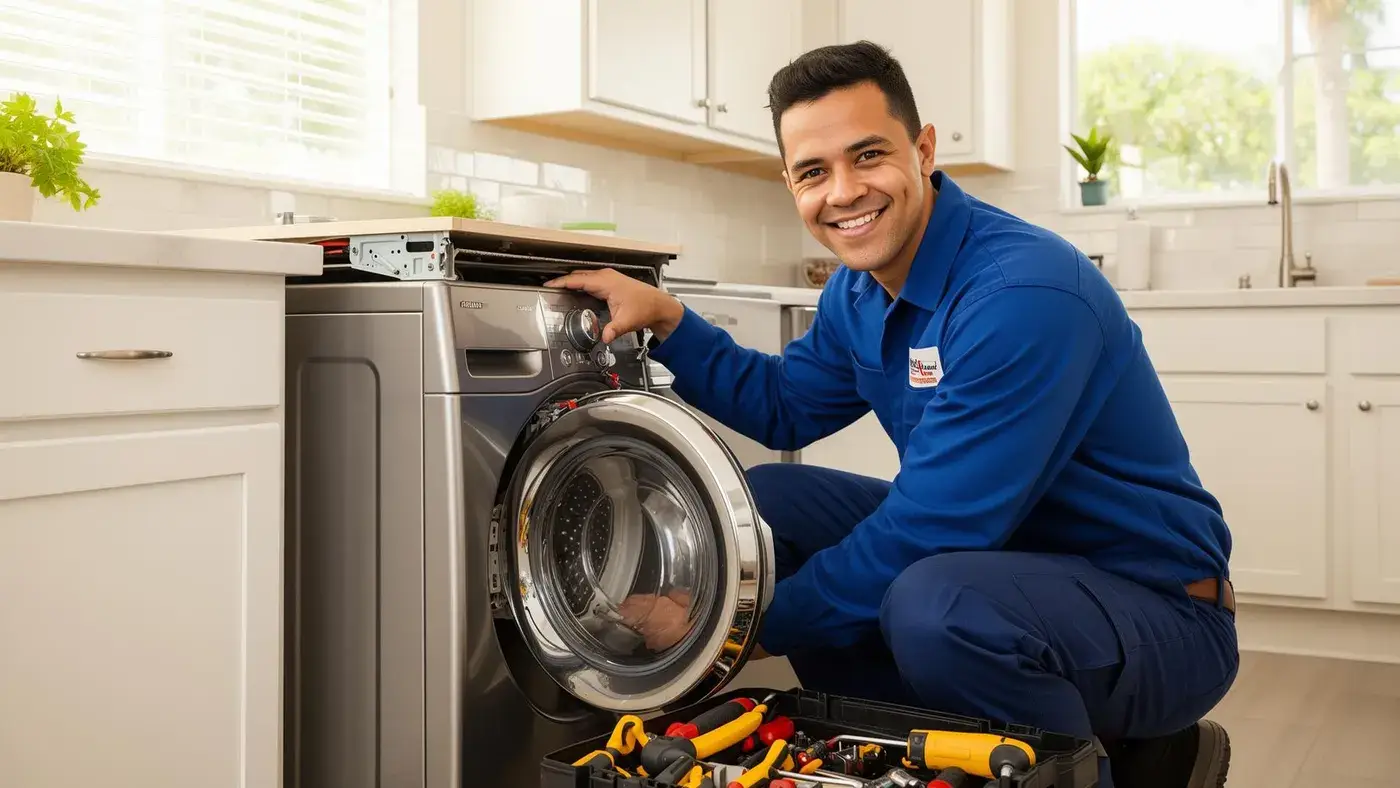
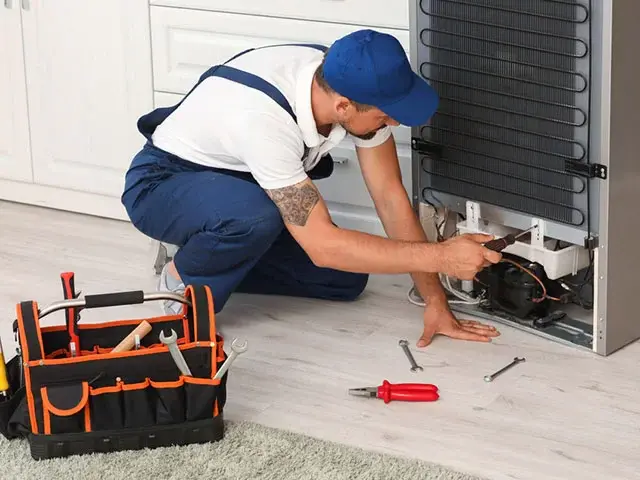
A dryer that stops working always picks the worst time to do it: wet clothes piling up, no backup plan, and a repair bill you did not budget for. Before calling anyone, it is worth knowing how to repair a dryer. However, most dryer issues trace back to something simple—a single part that wore out or a vent blocked with lint. This guide covers the real causes behind the most common problems: no heat, grinding noises, snapped belts, and blown fuses. Each section explains what broke, why it broke, and what fixing it actually involves. A few of these jobs are easy enough to handle on a Saturday morning. Others need a technician. This guide helps sort out DIY dryer repair.
DIY Dryer Repair—What to Know Before Starting
Belts, fuses, and rollers—these are all jobs a homeowner can handle. No special training needed. Just the right part, basic tools, and enough patience to not rush through it.
Unplug the dryer. Do not turn it off—unplug it from the wall. Take photos as panels come off. Seriously, do this every time. Reassembly on a machine you have never opened before is confusing enough without also trying to remember where every screw came from.
Order parts using the model number. Generic parts sometimes work. Sometimes they do not. Exact replacements are always the safer bet.
Gas lines and wiring that do not make sense—those are the two places to stop and call someone. Not because it is too hard. Because the consequences of getting it wrong are serious.
Dryer Belt Replacement
Dryer belt replacement is not complicated. Here is the order:
Unplug the dryer. Pull the top panel, then the front panel. The drum sits right there once those are off. Lift it slightly, work the old belt free, and set it aside.
The new belt goes around the drum first, then threads around the motor pulley and the idler pulley. This is the part that trips people up. Get the routing wrong, and the belt slips or snaps within a few cycles. Look up the specific diagram for the model—it takes two minutes and saves a lot of frustration.
Put the panels back, plug it in, and run a short cycle. If it is quiet, the job is done. Most people finish this one faster than they expected.
Dryer Thermal Fuse Replacement
The thermal fuse does one thing—it cuts the circuit when the dryer gets too hot. Burns out once, and that is it. No reset, no second chance. New fuse or the dryer stays cold. This is where a dryer thermal fuse replacement becomes indispensable.
Finding it is not hard. It sits near the heating element or the exhaust outlet, depending on the model. Costs a few dollars. Takes maybe twenty minutes to swap out.
Here is where people go wrong, though. They put the new fuse in and call it done. Two weeks later, the dryer is cold again. Same fuse, same problem. That is because the vent was never cleaned. Blocked airflow is what caused the overheating in the first place. Skip that step, and the new fuse does not stand a chance.
Replace Dryer Heating Element
Fuse is good. The vent is clear. The dryer still runs cold. At that point it is almost always the heating element.
The coil inside breaks down over time—not dramatically, just a small crack somewhere along the wire that opens the circuit. Once that happens, the dryer produces nothing. No amount of resetting breakers or cleaning filters changes that.
Getting to it means pulling the back panel, disconnecting the wires, unbolting the housing, and dropping in the new assembly. Not complicated, but it takes patience. The wires need to go back exactly where they came from—take a photo before disconnecting anything. And make sure the element sits flush in the housing before the panel goes back on. A loose fit causes problems fast.
Whirlpool Dryer Repair
Whirlpool makes solid dryers. They still break down. Same parts, same failure points as everything else on the market. Knowing some common Whirlpool dryer repair tips can be super handy. Testing it takes a multimeter and about five minutes. Replacing it takes maybe ten. Inexpensive part, easy to find for most Whirlpool models.
No heat? Thermal fuse or heating element—same as any other brand. Pull the model number, order the right part, and go from there. One thing worth doing before any Whirlpool repair: do not just turn the dryer off. Unplug it from the wall. The off switch cuts power to the controls. The plug cuts power to everything.
Samsung Dryer Troubleshooting
Samsung dryers show error codes on the display when something goes wrong. Most people ignore them or do not know what they mean. That is a mistake — the code usually points straight to the problem.
If you’re doing Samsung dryer troubleshooting, look the code up in the manual before touching anything. A lot of them trace back to airflow restriction, a moisture sensor that needs cleaning, or something in the heating circuit. None of those are complicated fixes once the code tells you where to look.
No heat on a Samsung? Same starting point as any other brand—vent first, then thermal fuse, then heating element. If the thermal fuse keeps blowing after replacement, stop replacing fuses. The vent is blocked, and it is cooking the fuse every time. That is the problem to fix.
What Happens If the Dryer Is Not Heating?
Run a cycle, and the clothes come out just as wet as they went in. That tells you the heat never kicked in. The first thing to check is the circuit breaker. Most people do not realize that electric dryers use two separate breakers. One runs the motor, and one runs the heat. If the second one trips, the drum spins fine, and nothing looks wrong until you reach inside. Pull the clothes out, still soaking, and that is when it clicks.
Does the breaker look fine? Move to the thermal fuse. Small part, cheap to replace, but it only works once. Heat gets too high, it blows, and that is it—the heating circuit stays dead until a new one goes in. After that, look at the heating element. The coil inside has a lifespan. When it cracks, the heat stops, full stop. Nothing else causes it, and nothing else fixes it.

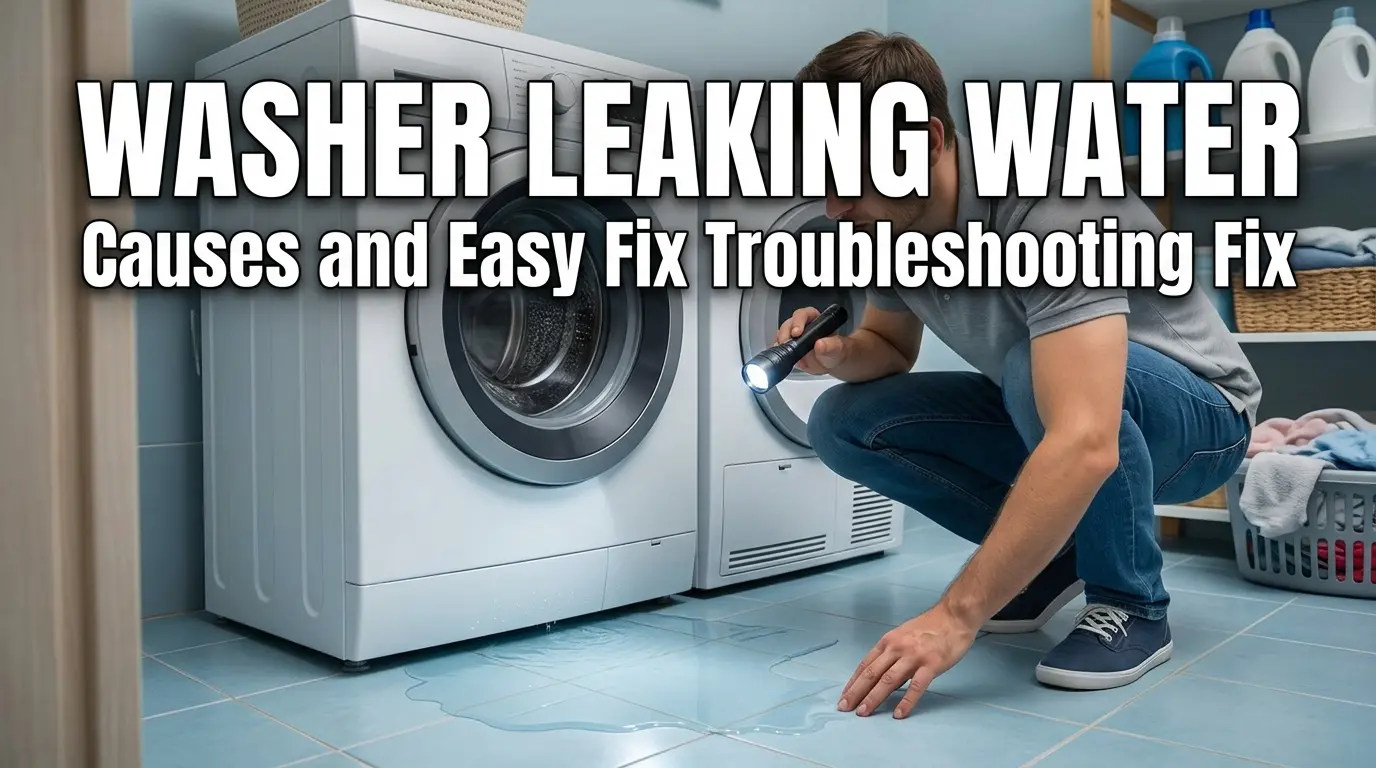
Worth mentioning—a clogged dryer vent quietly sits behind all three of these failures. Hot air with nowhere to go builds up fast, pushes the fuse past its limit, and turns the inside of that duct into a legitimate fire hazard. Check the vent before spending money on parts because a clean dryer vent is essential for proper heating.
Why Is the Dryer Making Loud Noise?
If your dryer is making loud or weird noises, it might need help. Your dryer could make loud noises due to a worn-out drum roller. These little wheels hold up the dryer drum as it spins. Over time, they get tired and can cause a thumping or squealing sound. Another common issue that could cause the loud noises is a broken or stretched dryer belt. However, a dryer belt replacement can do the magic for your dryer by eliminating these loud noises.
How To Repair Your Gas Dryer
The gas dryers are different from the electric dryers. If your gas dryer is not heating, then ignition could be a problem. Before calling an expert for professional help, check if the gas supply valve is fully open. However, dealing with the gas appliances could be a little tricky; it is always best to call a professional for gas dryer repair.
Dryer Repair Tips
These dryer repair tips can guide you through many common issues. Here are some general dryer repair tips to keep in mind.
- Always start with the easiest stuff first.
- Check the power cord, the circuit breaker, and that lint filter.
- Make sure the dryer vent is clear and not squished.
- Listen closely for any strange noises.
- There is often a point to specific problems like tired rollers or a bad belt.
- If your dryer shows an error code, look it up in the manual—it’s a lifesaver.
- Don’t ever force parts or connections.
- If something feels stuck, take a step back and rethink.
- Snapping pictures as you take the dryer apart can be a huge help when you’re putting it back together.
Dryer Maintenance Tips
Clean the lint filter after every load. Not most loads. Every single one. A clogged filter makes the dryer work harder, slows drying times, and quietly builds up fire risk inside the exhaust system.
The vent needs a proper cleanout once a year, minimum. Pull the dryer out, disconnect the duct, and run a brush through the whole length of it. Check the exterior flap while at it—bird nests and lint clogs at the outside cover are more common than people think.
While the dryer is pulled out, look at the duct itself. Kinked or crushed sections cut airflow nearly as badly as a full blockage. Straighten them out or replace that section. Takes ten minutes and saves a lot of trouble down the road.
Conclusion
Most dryer problems come back to the same short list: clogged vent, blown fuse, worn belt, and dead heating element. Not mysterious. Not expensive. Usually fixable in an afternoon with a basic toolkit and the right part.
The ones worth calling a professional for are gas-related repairs and anything electrical that does not make sense after a second look. Everything else is fair game for a careful DIY approach. Clean the lint filter after every load. Clear the vent once a year. Those two habits alone prevent the majority of dryer breakdowns before they start.
Get your appliances running like new with Discount Appliance Repair! We deliver fast, affordable, and reliable repair, maintenance, dryer vent cleaning, and installation services. Call now for same-day service and enjoy safe, efficient, long-lasting results!
Frequently Asked Questions:
Q1. Why is my dryer taking so long to dry clothes?
Start with the vent. A partially blocked exhaust is the cause more often than not. Pull the dryer out, clean the duct, empty the lint filter, and run a test cycle. The difference is usually immediate.
Q2. What does a burning smell from my dryer mean?
Lint near the heating element or packed into the exhaust duct. Stop the dryer right there — do not run another cycle. Clean the vent out completely before using it again. Lint fires move fast.
Q3. Can I replace a dryer belt myself?
Yes. Unplug it, pull the panels, swap the belt, and put it back together. The only part that trips people up is routing the belt correctly around the motor pulley. Look up the diagram for the specific model before starting.
Q4. How do I know if my dryer’s thermal fuse is bad?
Dryer runs, no heat. That is the pattern. Test with a multimeter—a blown fuse shows no continuity. Replace it and clean the vent before the next cycle, or the new fuse will blow again.
Q5. Is it safe to use a dryer that’s making loud noises?
No. Whatever is making that noise is getting worse with every load. Worn rollers and failing belts do not stabilize on their own. The longer it runs, the bigger the repair gets.